Why integrate Localizer and WordPress?
- You'll be able to localize and translate specific pages for different audiences, from different locales
- You'll be able to rapidly test specific landing pages and gauge the audiences' reception to your business and brand in specific markets - before officially launching there
- Enable on-demand, high-quality translation for your WordPress site
- Localizer works seamlessly with any WordPress theme and site structure
Steps to Add Localizer to WordPress
If you're using a self-hosted WordPress instance to host your site - you can easily add the Localizer JavaScript Integration code by following the steps below:
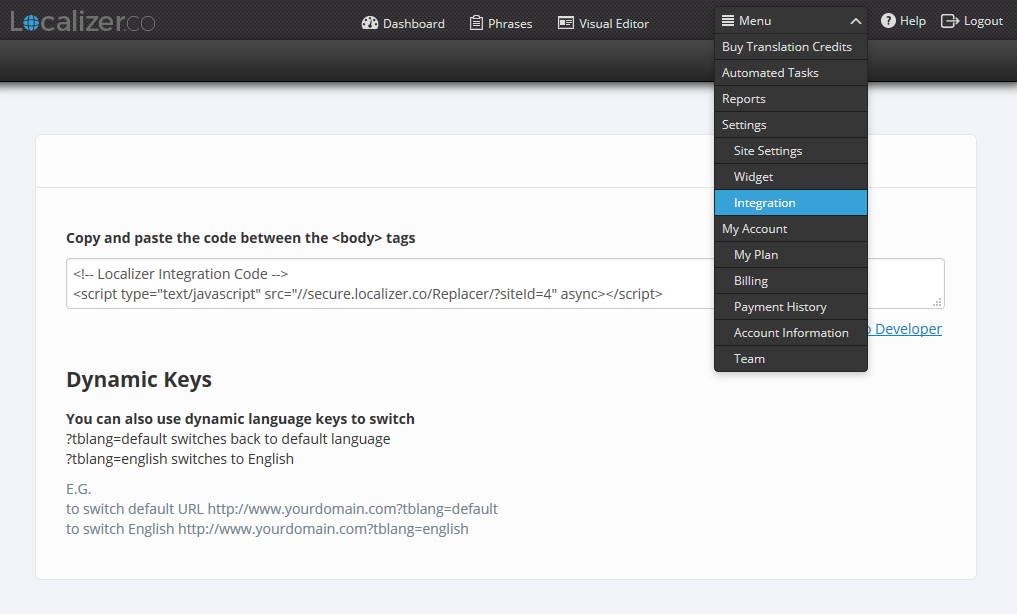
1Login to your Localizer account and copy the JavaScript. (Menu > Integration)
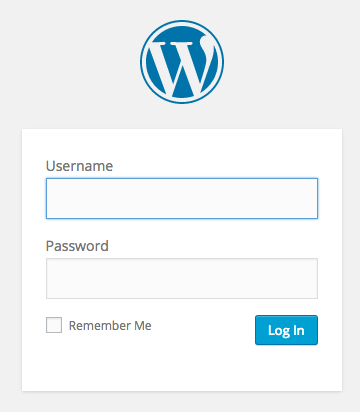
2Login to the Admin section of your WordPress instance.
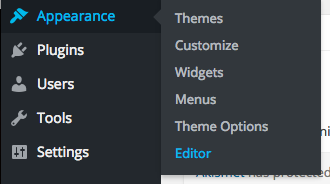
3Hover over the "Appearance" section from the toolbar on the left-hand side, then select "Editor".
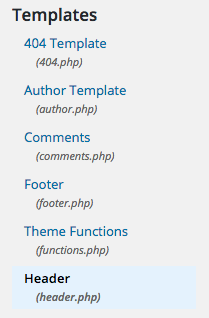
4Click on "Header" from the "Templates" section on the right.
5Locate the <body> tag. Place the Localizer JavaScript directly below this tag.

6Click on "Update file" and your site is ready to be translated.