In this article, we’ll walk you through how to implement Localizer on Jimdo.
Steps to Add Localizer to Jimdo
If you're using a self-hosted Jimdo instance to host your site, you can easily add the Localizer JavaScript Integration code by following the steps below:
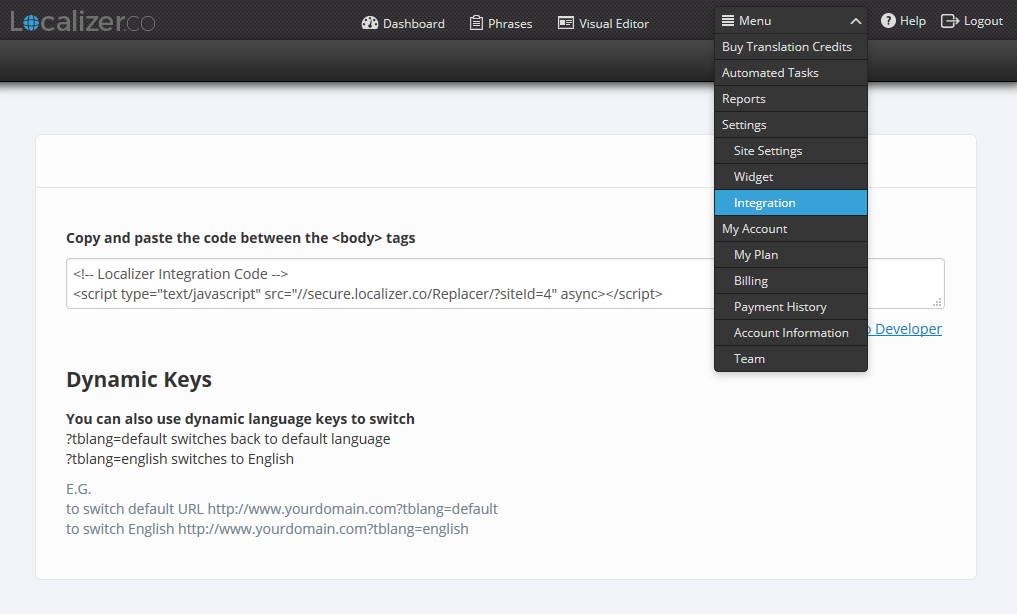
1Login to your Localizer account and copy the JavaScript. (Menu > Integration)
2Login to the Admin section of your Jimdo instance.
3Click the "Settings" section

4Click the "Edit Head" option

5Ensure the "Entire Website" tab is selected, and Insert the Localizer code in the Text Box
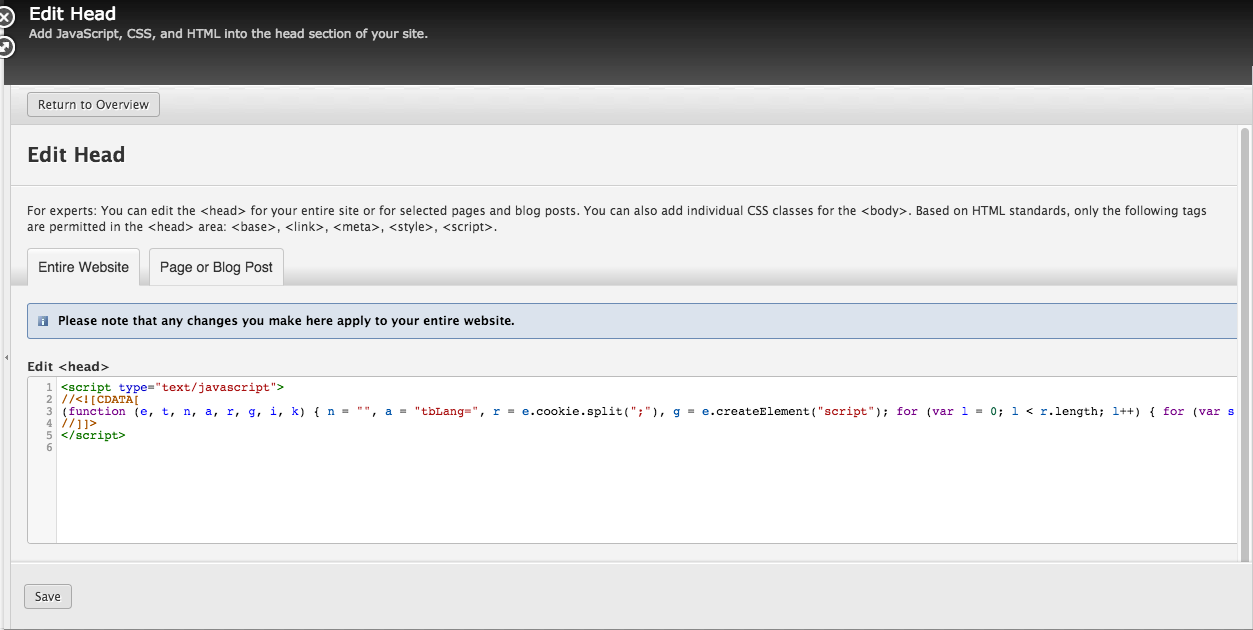
6Click "Save" .